Diving into Web-Based Virtual Reality
An introduction to A-Frames and web-based VR
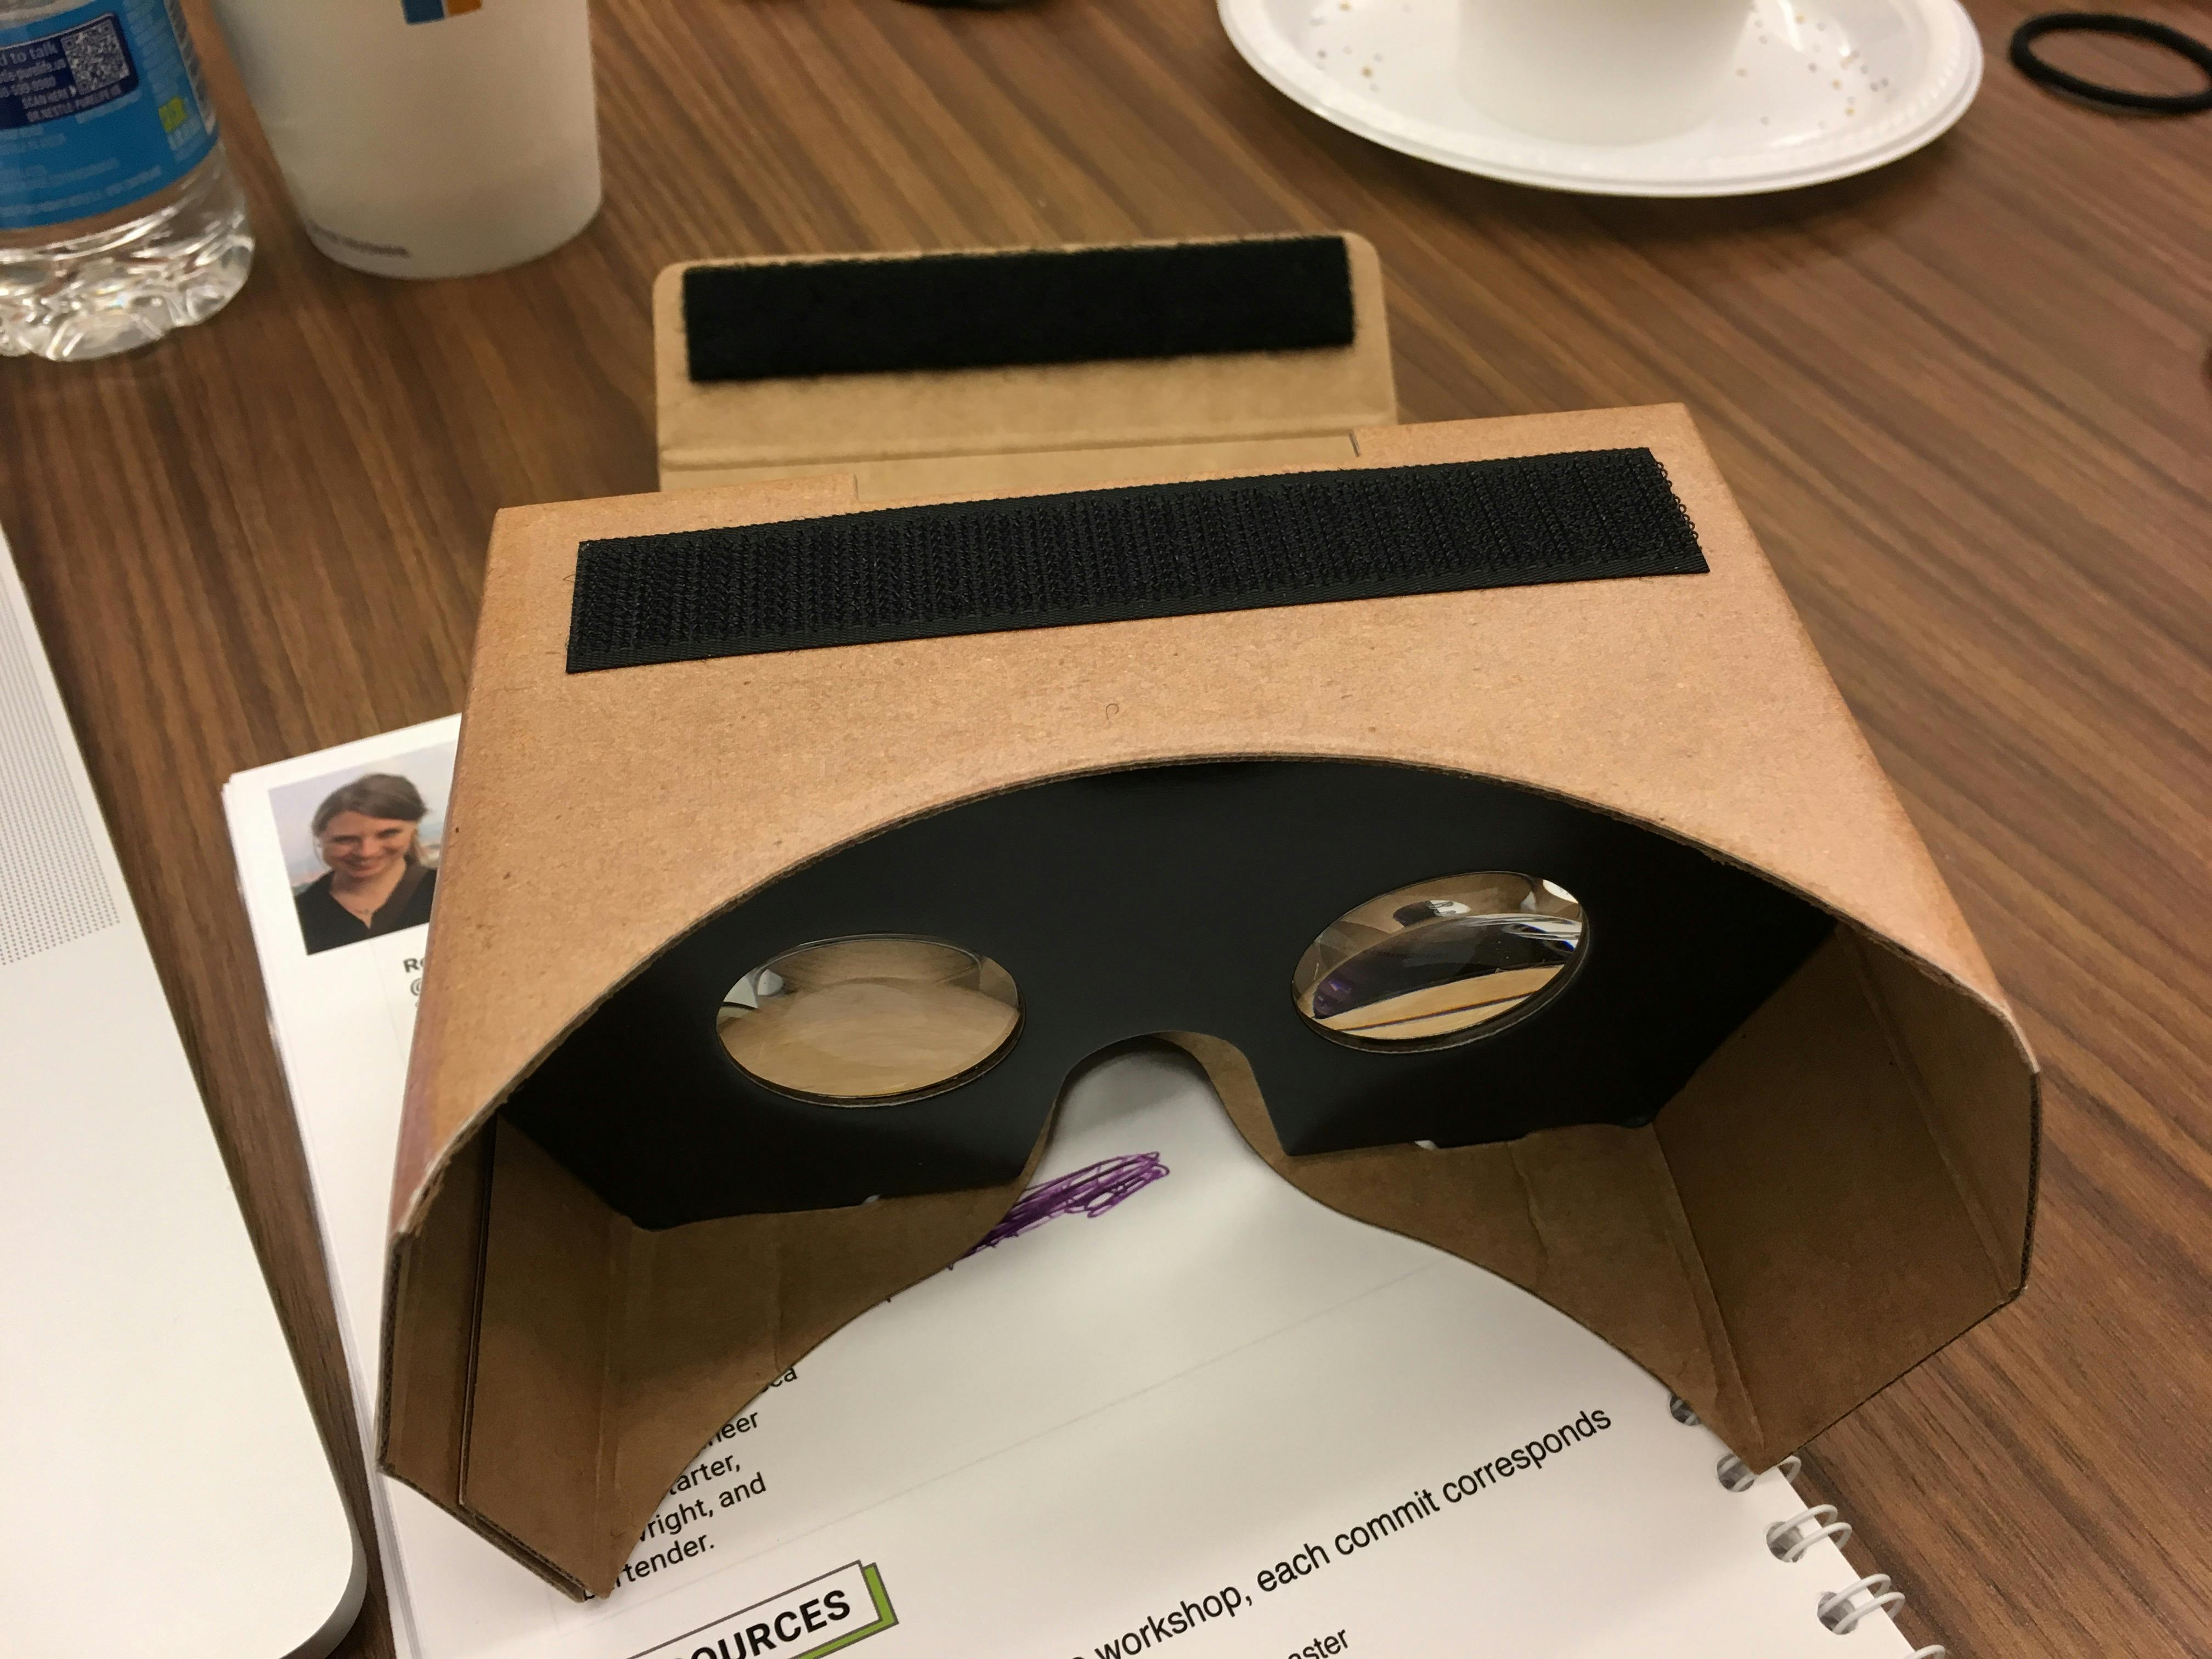
Google Cardboard by Detlef la Grand is licensed under CC BY 2.0
On April 21 and 22, I attended, and spoke at, the first ever Codeland Conference in New York City. The conference was put on by Code Newbie, a phenomenal organization and support system for folks that are just starting their programming careers. There were a lot of things I loved about this conference.
- Great speakers that spoke about REALLY interesting topics.
- An incredible amount of diversity and inclusivity both in the speaker group and conference attendees. At the end of the conference, they mentioned that minorities made up the majority of the conference audience which is not something you see very often in tech.
- And last but not least, the VR workshop I participated in the morning of the second day.
The workshop, entitled, “Getting started with VR for web developers with A-Frame” run by Rebecca Poulson was a great intro into VR. This workshop came at a great time for me too! It was just weeks after hearing Erica Stanley speak at MagmaConf on Web-Based Virtual Reality. There Erica demoed some pretty cool stuff (sidenote: there are awesome women doing really cool VR stuff so I was excited to learn from some badass ladies).
We started by talking a little bit about VR devices and what’s available, as well as how the whole ecosystem works. For our purposes, we were mostly using “cardboards” or cardboard-based structures that you put your phone into to give you the virtual reality experience.
When you go into VR mode on your phone, a few things happen. First, you seen split screen. Second, it changes the mesh barrel distortion which is the way software compensates for how a website or screen distorts your view. Third, it corrects the chromatic aberration, or how the colors fray towards the edge of the view.
Rebecca also gave us some great pointers about how to program vr so you don’t throw up which basically boils down to anything sudden, sharp, or unexpected (to an extent) will likely cause nausea.
Now on to the good stuff… our tutorial was based on the A-Frame framework. The A-Frame framework is used to build vr experiences. You can start exploring this by going to aframe.io and choosing an experience. You can do this on your computer or phone. On your computer, once you’re in the experience, opening up the A-Frame inspector by hitting control option I will allow you to play around with the experience you’re in. A-Frame invokes an entity-component-system structure. This will become more understandable as we get into it but entities are objects who’s behavior and appearance is defined by components and entities are managed by systems.
To start something new, we created a new project and a blank index.html file. We started with a few simple lines of code:
<html>
  <head>
    <script src="https://aframe.io/releases/0.5.0/aframe.min.js"></script>
  </head>
  <body>
    <a-scene>
      <a-sky color=“87CEEB”></a-sky>
      <a-box width="8" height="5" depth="6" position="-10 2 -5" rotation="0 0 45" src=“#logo"</a-box>
   <a-scene>
  </body>
</html>
Anything that’s placed inside the a-scene is what will go into the VR scene. Now run your local server and go to localhost. You’ll see a blank page at first, but when you inspect it, the elements should be there. Pressing control + alt will open up the aframe editor and you should see:
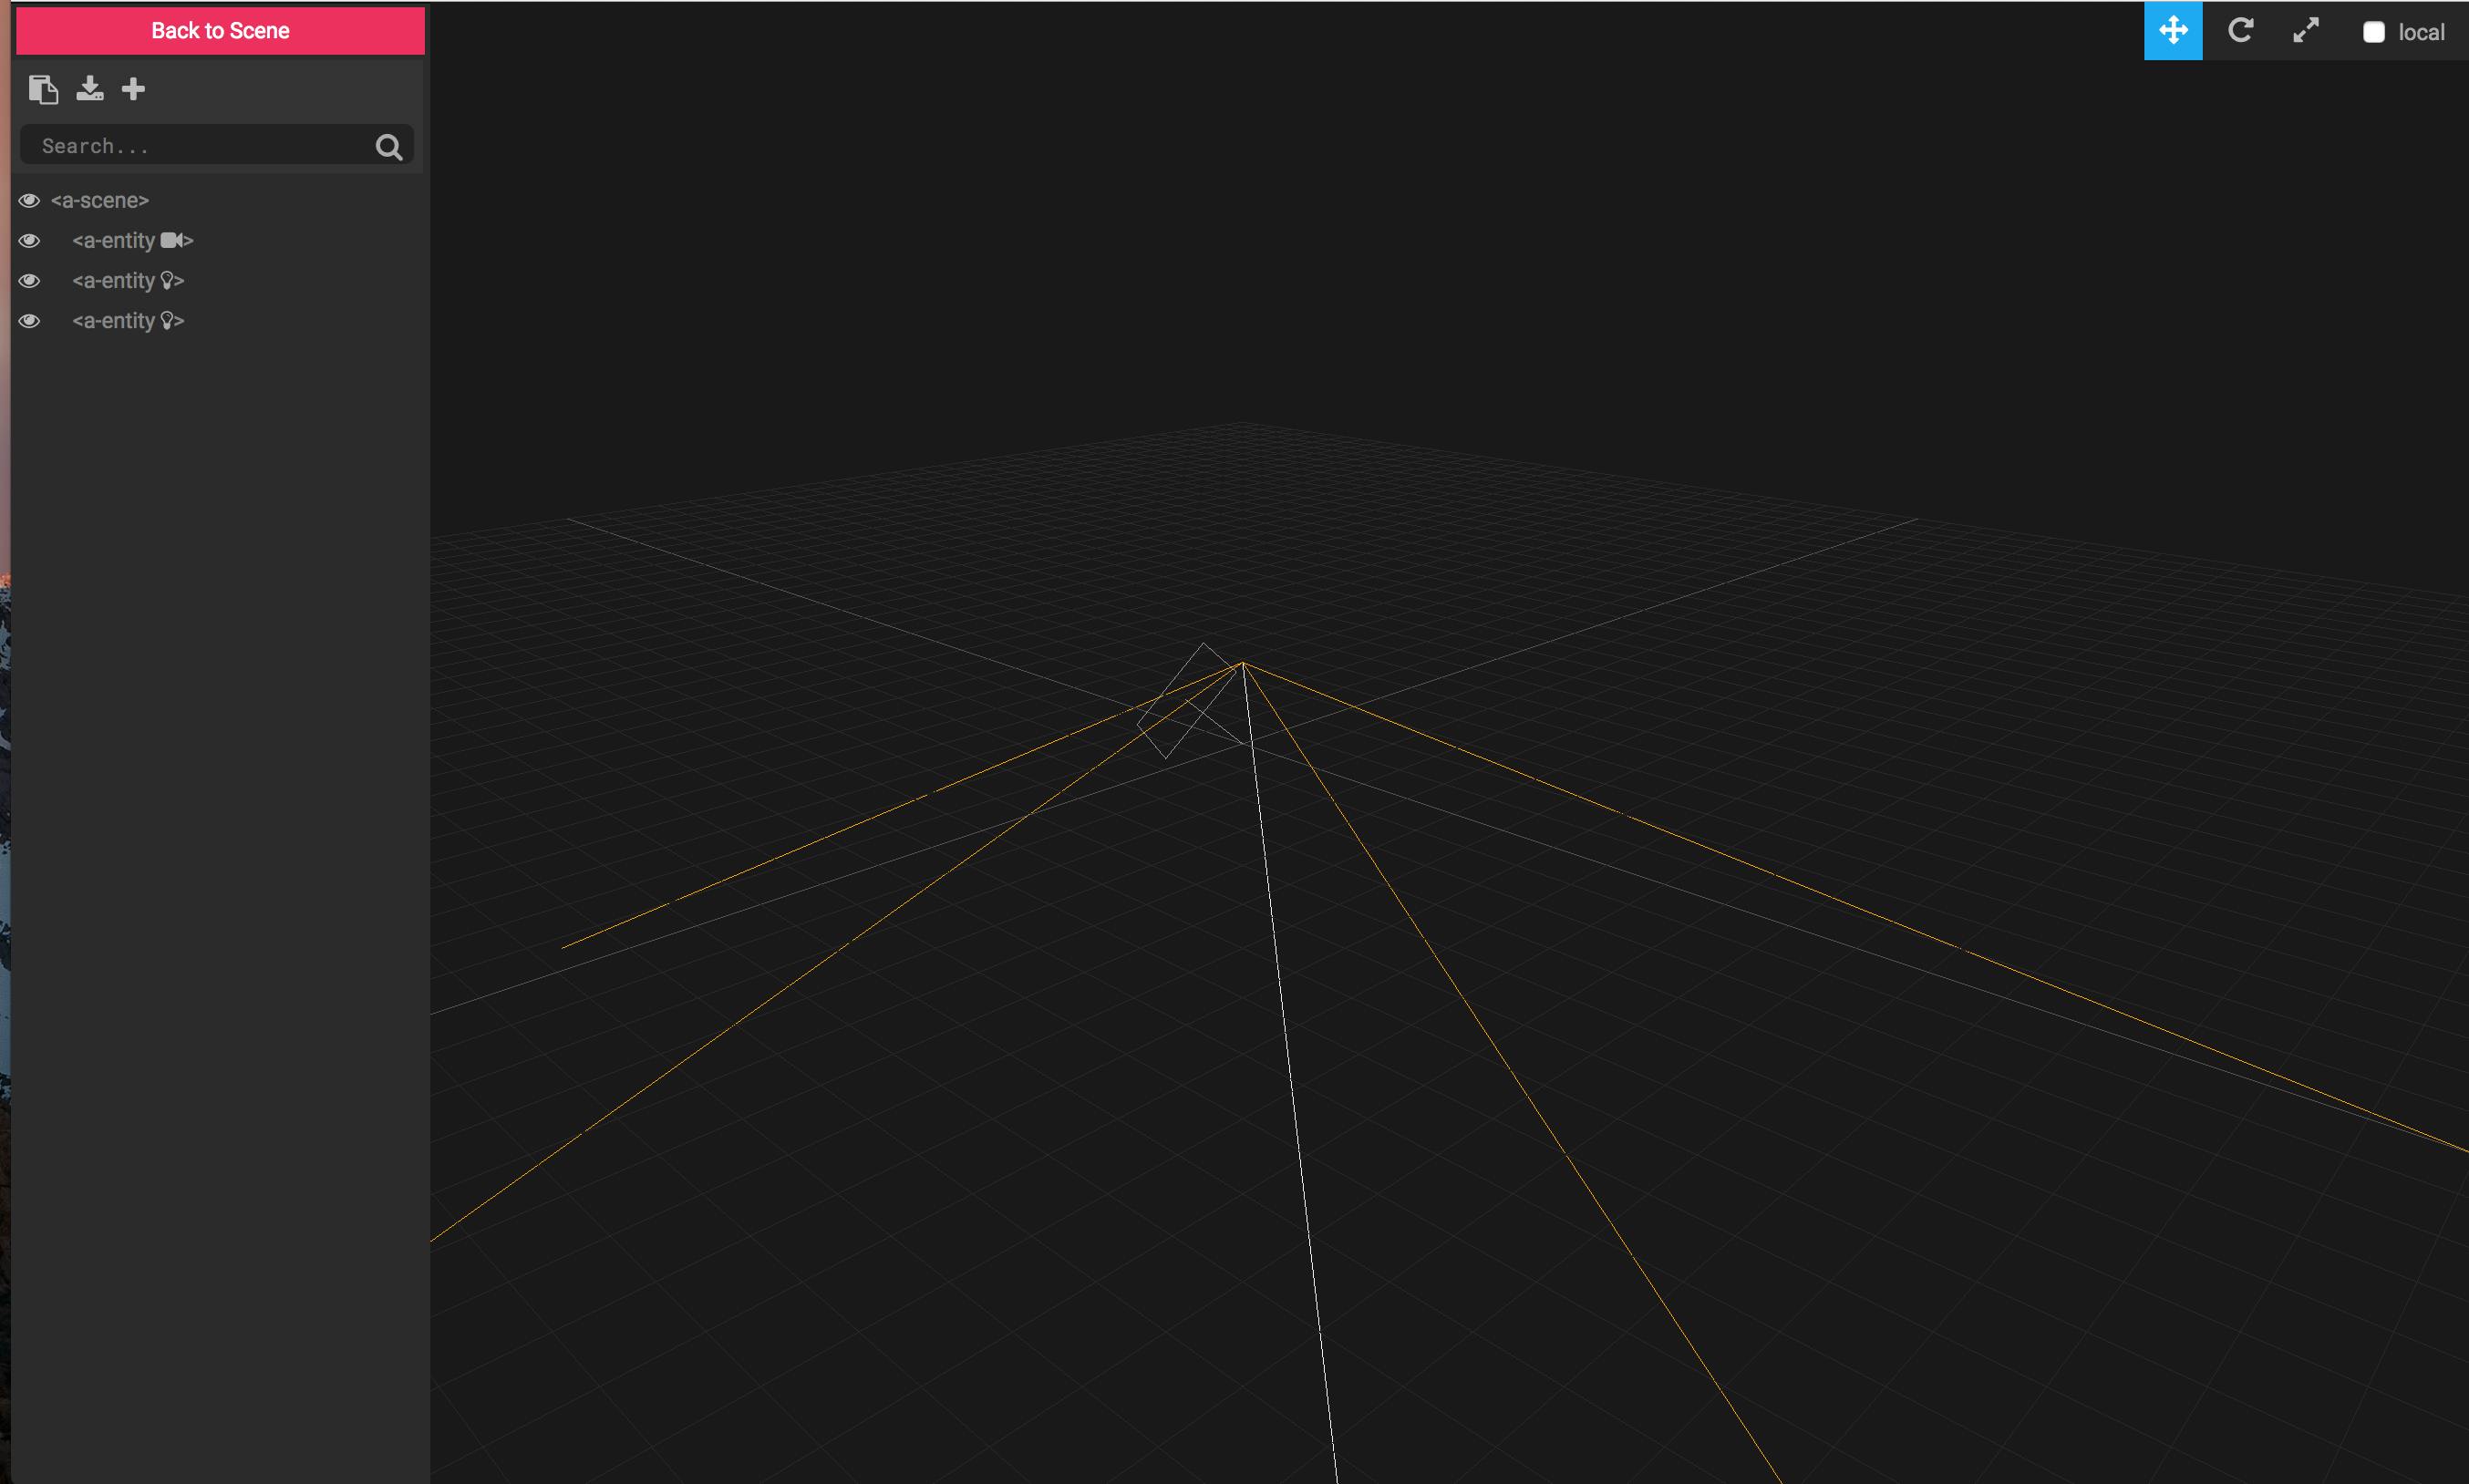
You’ll see a few out-of-the-box entities including a camera and two lights.
We then added our first primative. A primitive is like out-of-the-box functionality. It’s a set of components that’s already attached to an entity. It is also already named so it can be accessed with that html tag. We needed to give our VR scene a sky which essentially wraps the scene. You can think of this as being inside a snow globe and the sky would be the actual globe.
Here’s the code:
<html>
  <head>
    <script src="https://aframe.io/releases/0.5.0/aframe.min.js"></script>
    <script src="codeland-colors.js"></script>
  </head>
  <body>
   <a-scene>
      <a-sky color=“87CEEB”></a-sky>
    </a-scene>
  </body>
</html>
Protip: you need to restart your local server and re-open the A-Frame inspector each time you make a change.
We then added another primitive of a box:
<html>
  <head>
    <script src="https://aframe.io/releases/0.5.0/aframe.min.js"></script>
  </head>
  <body>
    <a-scene>
      <a-sky color=“87CEEB”></a-sky>
      <a-box width="8" height="5" depth="6" position="-10 2 -5" rotation="0 0 45" src=“#logo"</a-box>
    </a-scene>
  </body>
</html>
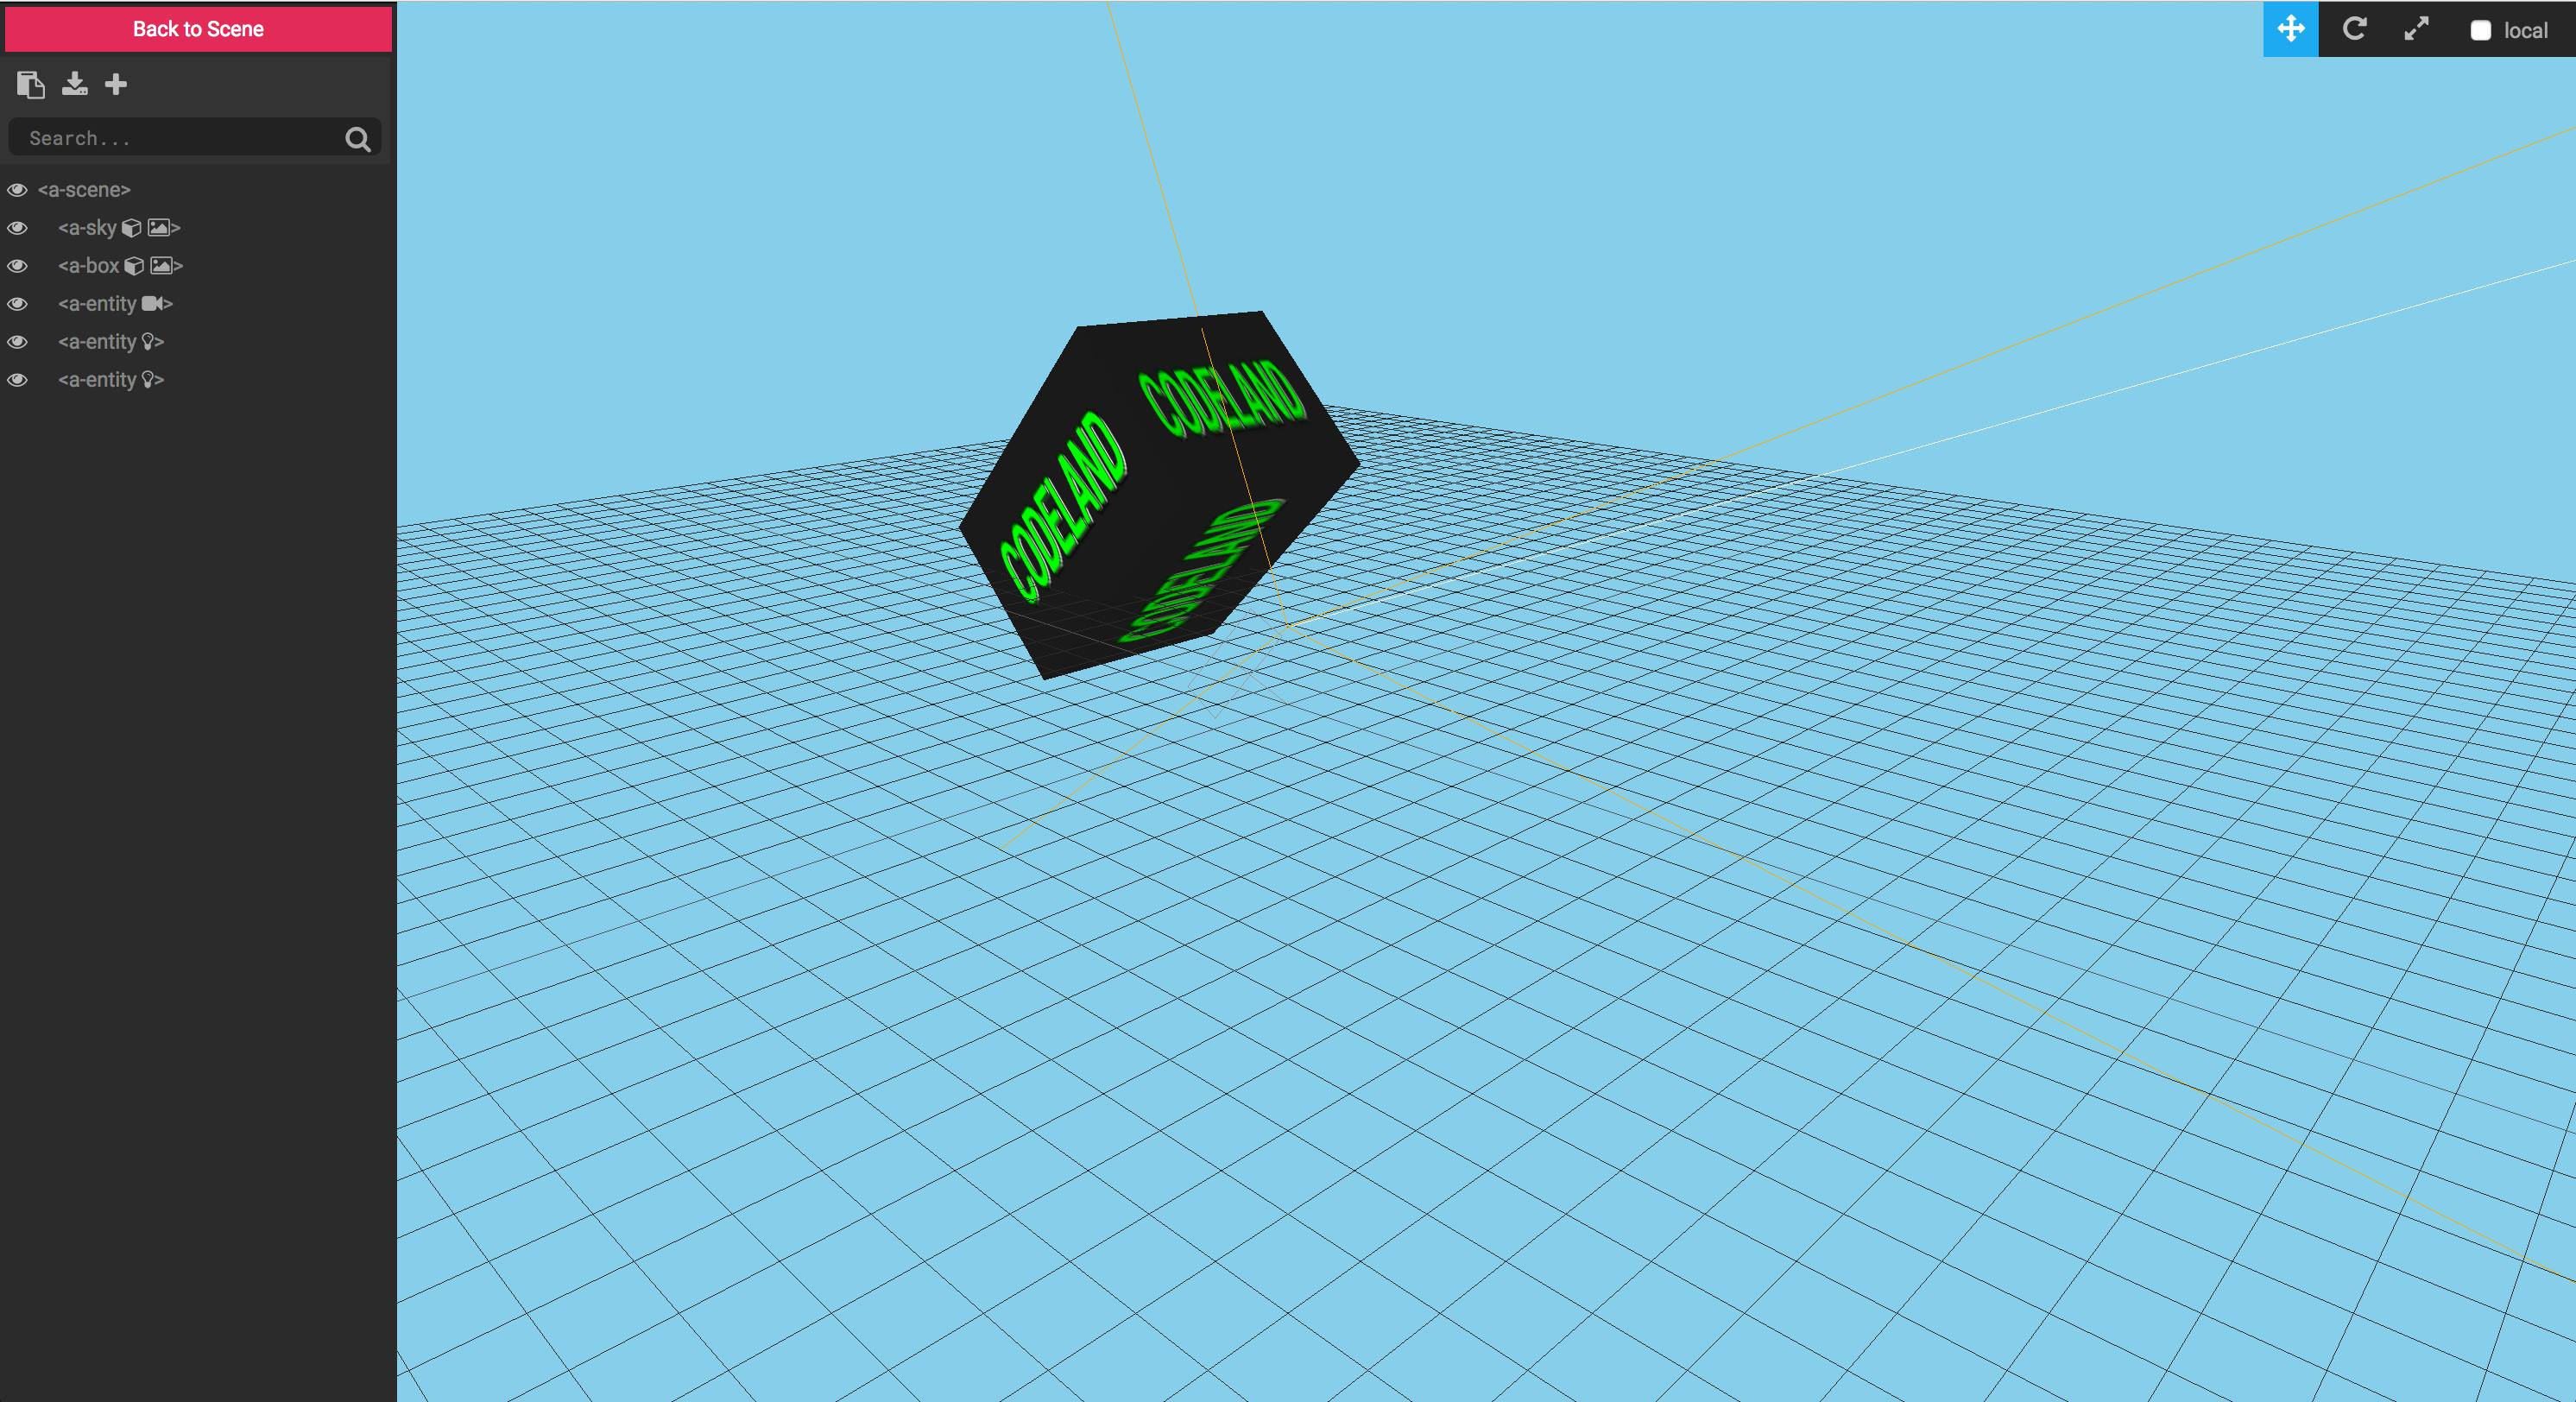
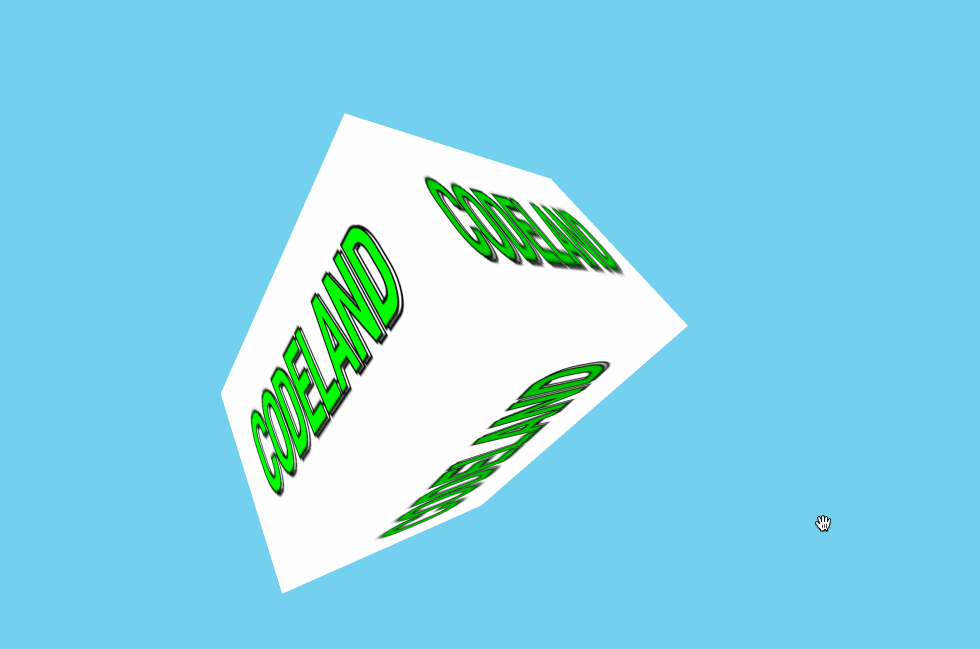
You can see the sky and the box here:

We then looked at adding assets. An asset can be anything: a sound file, a logo, a 3d model, etc. In our case, it was the Codeland logo.
<html>
  <head>
    <script src="https://aframe.io/releases/0.5.0/aframe.min.js"></script>
  </head>
  <body>
    <a-scene>
      <a-assets>
        <img id="logo" src="codeland-logo.png">
      </a-assets>
      <a-sky color=“87CEEB”></a-sky>
      <a-box width="8" height="5" depth="6" position="-10 2 -5" rotation="0 0 45" src=“#logo"</a-box>
    </a-scene>
  </body>
</html>
As you can see, the logo in the a-assets tags and then you refer to that logo by the id inside the box primitive tag.
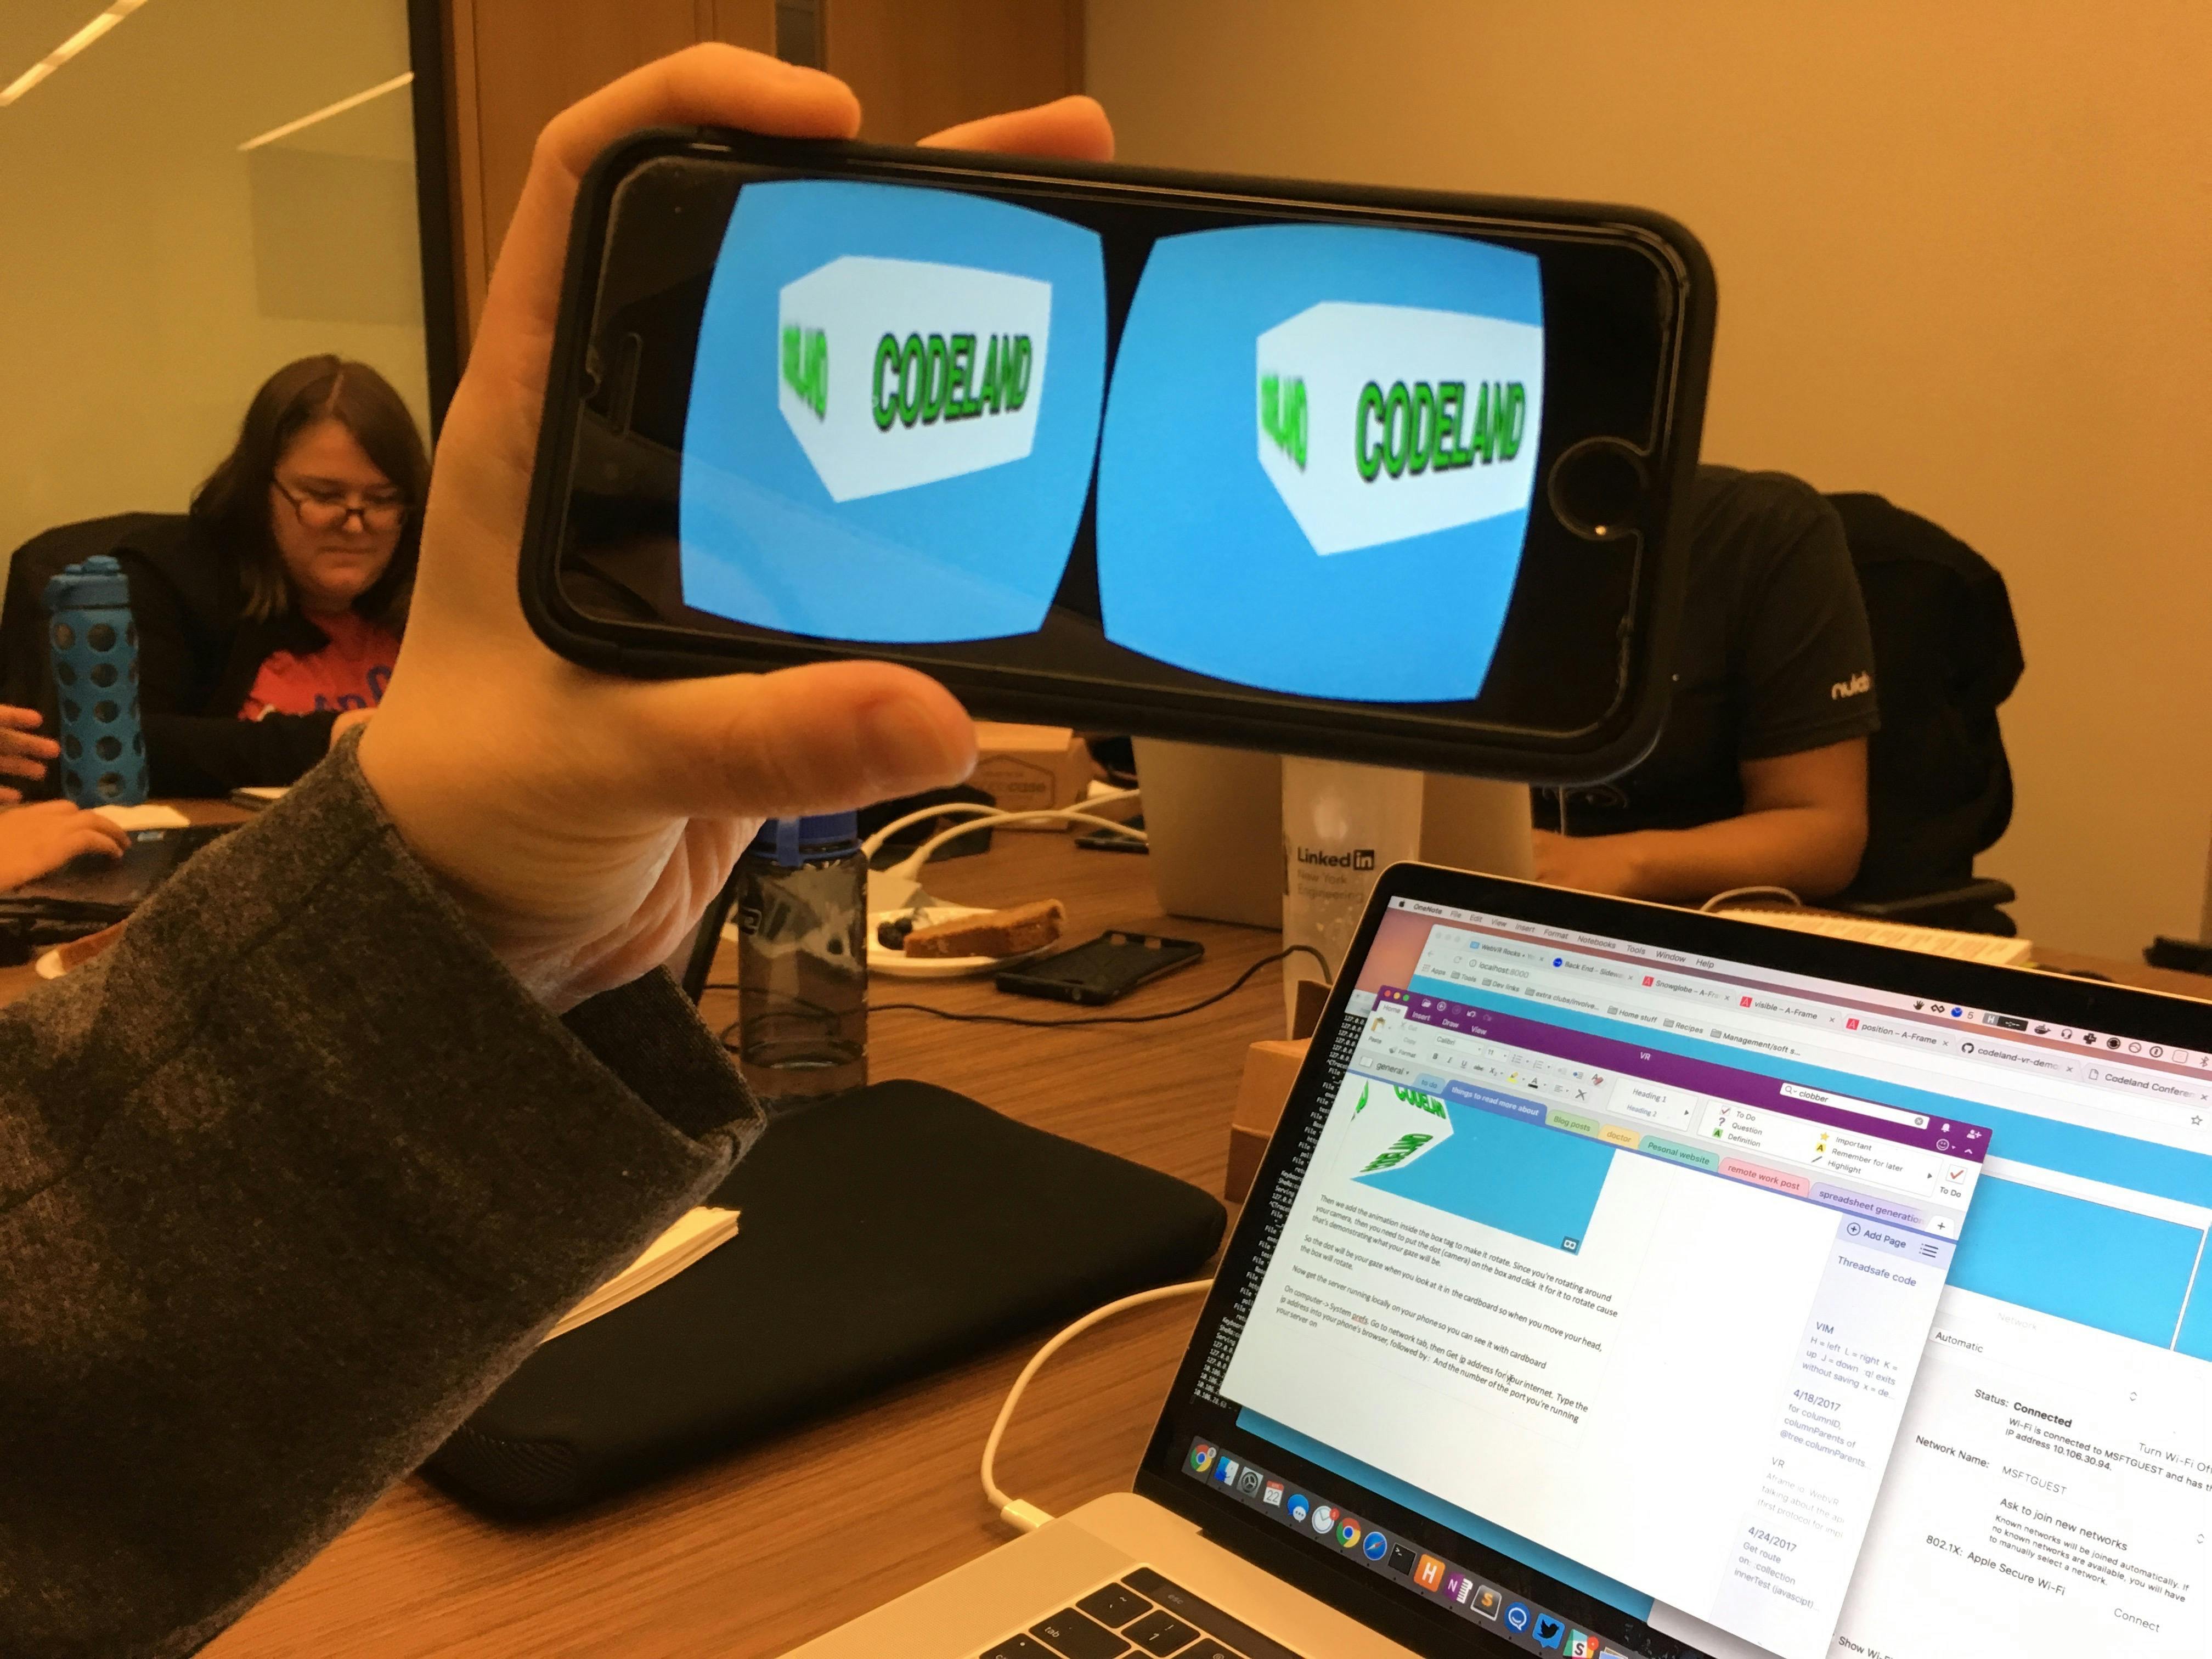
Now, we’re ready to do something with this box and in order to do something with it, you need to create a camera and a cursor. A cardboard VR device can’t track your phone’s position, so your cursor is controlled by your head position, Think of the camera as your eyes and the cursor as your arm. Your arm needs your eyes and is therefore nested inside the camera tag. As a small aside, for the camera, positions are set based on height in meters. Standard VR says you’re 5’8” (ha!), so the option position="0 1.8 0" is like saying you are 1.8 meters tall.
Here’s the code:
<html>
 <head>
    <script src="https://aframe.io/releases/0.5.0/aframe.min.js"></script>
  </head>
  <body>
    <a-scene>
      <a-assets>
        <img id="logo" src="codeland-logo.png">
     </a-assets>
        <a-sky color=“87CEEB”></a-sky>
      <a-box width="8" height="5" depth="6" position="-10 2 -5" rotation="0 0 45" src="#logo">
      </a-box>
      <a-camera position="0 1.8 0">
        <a-cursor color="1783c6"></a-cursor>
      </a-camera>
    </a-scene>
  </body>
</html>
This doesn’t do much, it simply adds that small dot in the middle of the picture below.
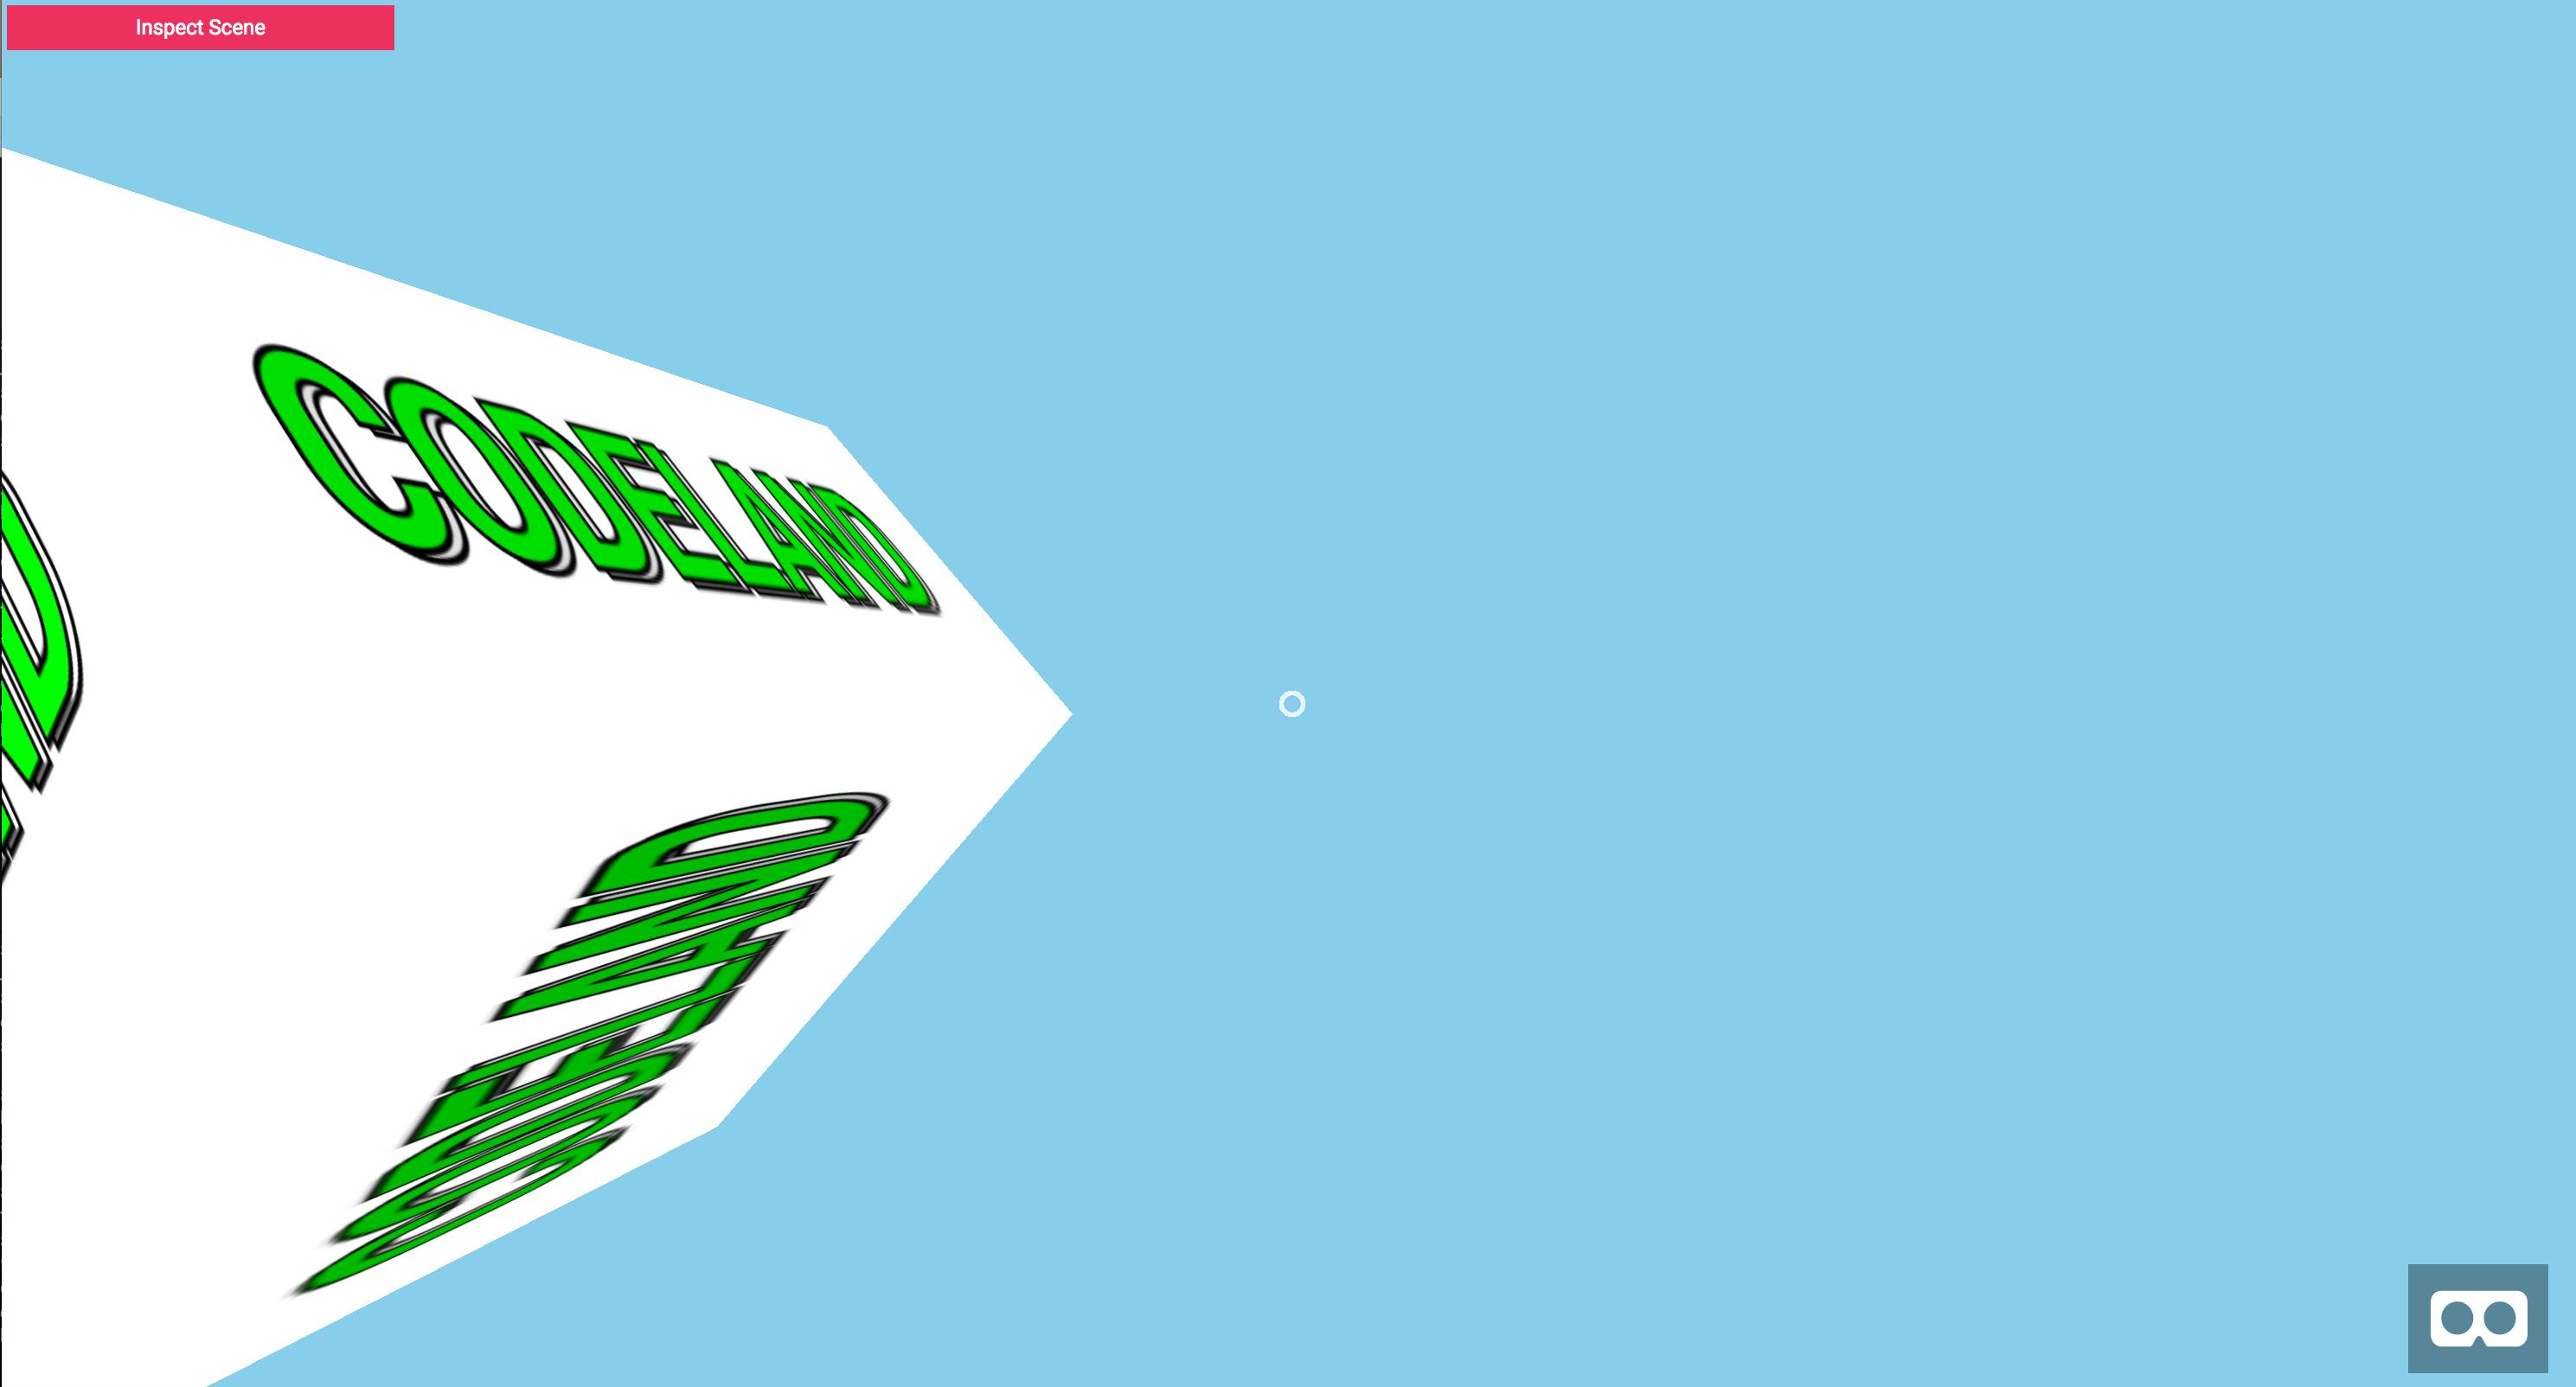
Finally, we added the animation inside the box tag to make it rotate. Since you’re rotating around the camera (which is like your eyes), on your computer, put the dot on the box and click it for it to rotate. This demonstrates what the gaze will be.
<html>
  <head>
    <script src="https://aframe.io/releases/0.5.0/aframe.min.js"></script>
  </head>
  <body>
    <a-scene>
      <a-assets>
        <img id="logo" src="codeland-logo.png">
      </a-assets>
        <a-sky color=“87CEEB”></a-sky>
      <a-box width="8" height="5" depth="6" position="-10 2 -5" rotation="0 0 45" src="#logo">
    <a-animation attribute="rotation" begin="click" to="0 360 0"></a-animation>
      </a-box>
     <a-camera position="0 1.8 0">
        <a-cursor color="1783c6"></a-cursor>
      </a-camera>
    </a-scene>
  </body>
</html>
Now, to get this running on your phone, you can run your local server on your phone (which is basically as awesome as it sounds). Your phone and computer need to be on the same internet. Get your IP address from your computer (on a Mac, go to System preferences —> network to get the IP address). Type this IP address into your phone’s browser, followed by :PORT_NUMBER. Turn your phone horizontally and click the VR logo in the bottom corner to see the split screen and make the VR viewable.
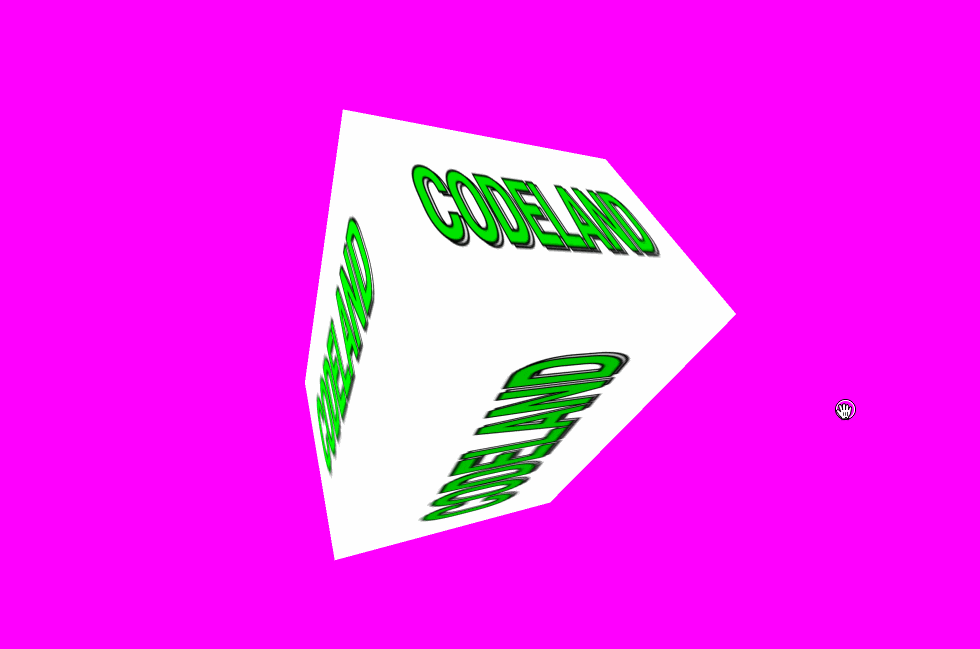
We did one final thing to our VR scene. We added a new component built by us that made the background change colors (But not too quickly. Remember the things that induce nausea!). Components automatically contain references to their entities. We created a JavaScript file that just had an array of colors called in a function. We then inserted it into our index.html</cod> file by including the script at the top, and replacing the sky tag with the name of the file.
<html>
  <head>
    <script src="https://aframe.io/releases/0.5.0/aframe.min.js"></script>
    <script src="codeland-colors.js"></script>
  </head>
  <body>
    <a-scene>
      <a-assets>
        <img id="logo" src="codeland-logo.png">
      </a-assets>
      <a-sky codeland-colors></a-sky>
      <a-box width="8" height="5" depth="6" position="-10 2 -5" rotation="0 0 45" src="#logo">
        <a-animation attribute="rotation" begin="click" to="0 360 0"></a-animation>
      </a-box>
      <a-camera position="0 1.8 0">
        <a-cursor color="1783c6"></a-cursor>
      </a-camera>
    </a-scene>
  </body>
</html>
And here’s the final product:
That’s how I got started with web-based VR. I’m looking forward to checking out some of the components in the A-Frame registry and possibly building a few of my own scenes.
About Allison McMillan
Allison was first introduced to programming at a Rails Girls workshop after a career as a nonprofit executive. She is also an international conference speaker living in the Washington, DC area. When she’s not writing code for us, she invests her time leading the People Committee which focuses on the health and happiness of our team members!
Comments