Hooray for Global Color Themes in Xcode!
Using Xcode's Color Assets to manage your app's palette
Pantone Color Swatch by Yanns is licensed under CC0 Creative Commons
Let’s say we were just handed some design specs that use the color Awesome  (#FF2052) throughout the application. Buttons, headers, decorations, etc. all share that brilliant pink!
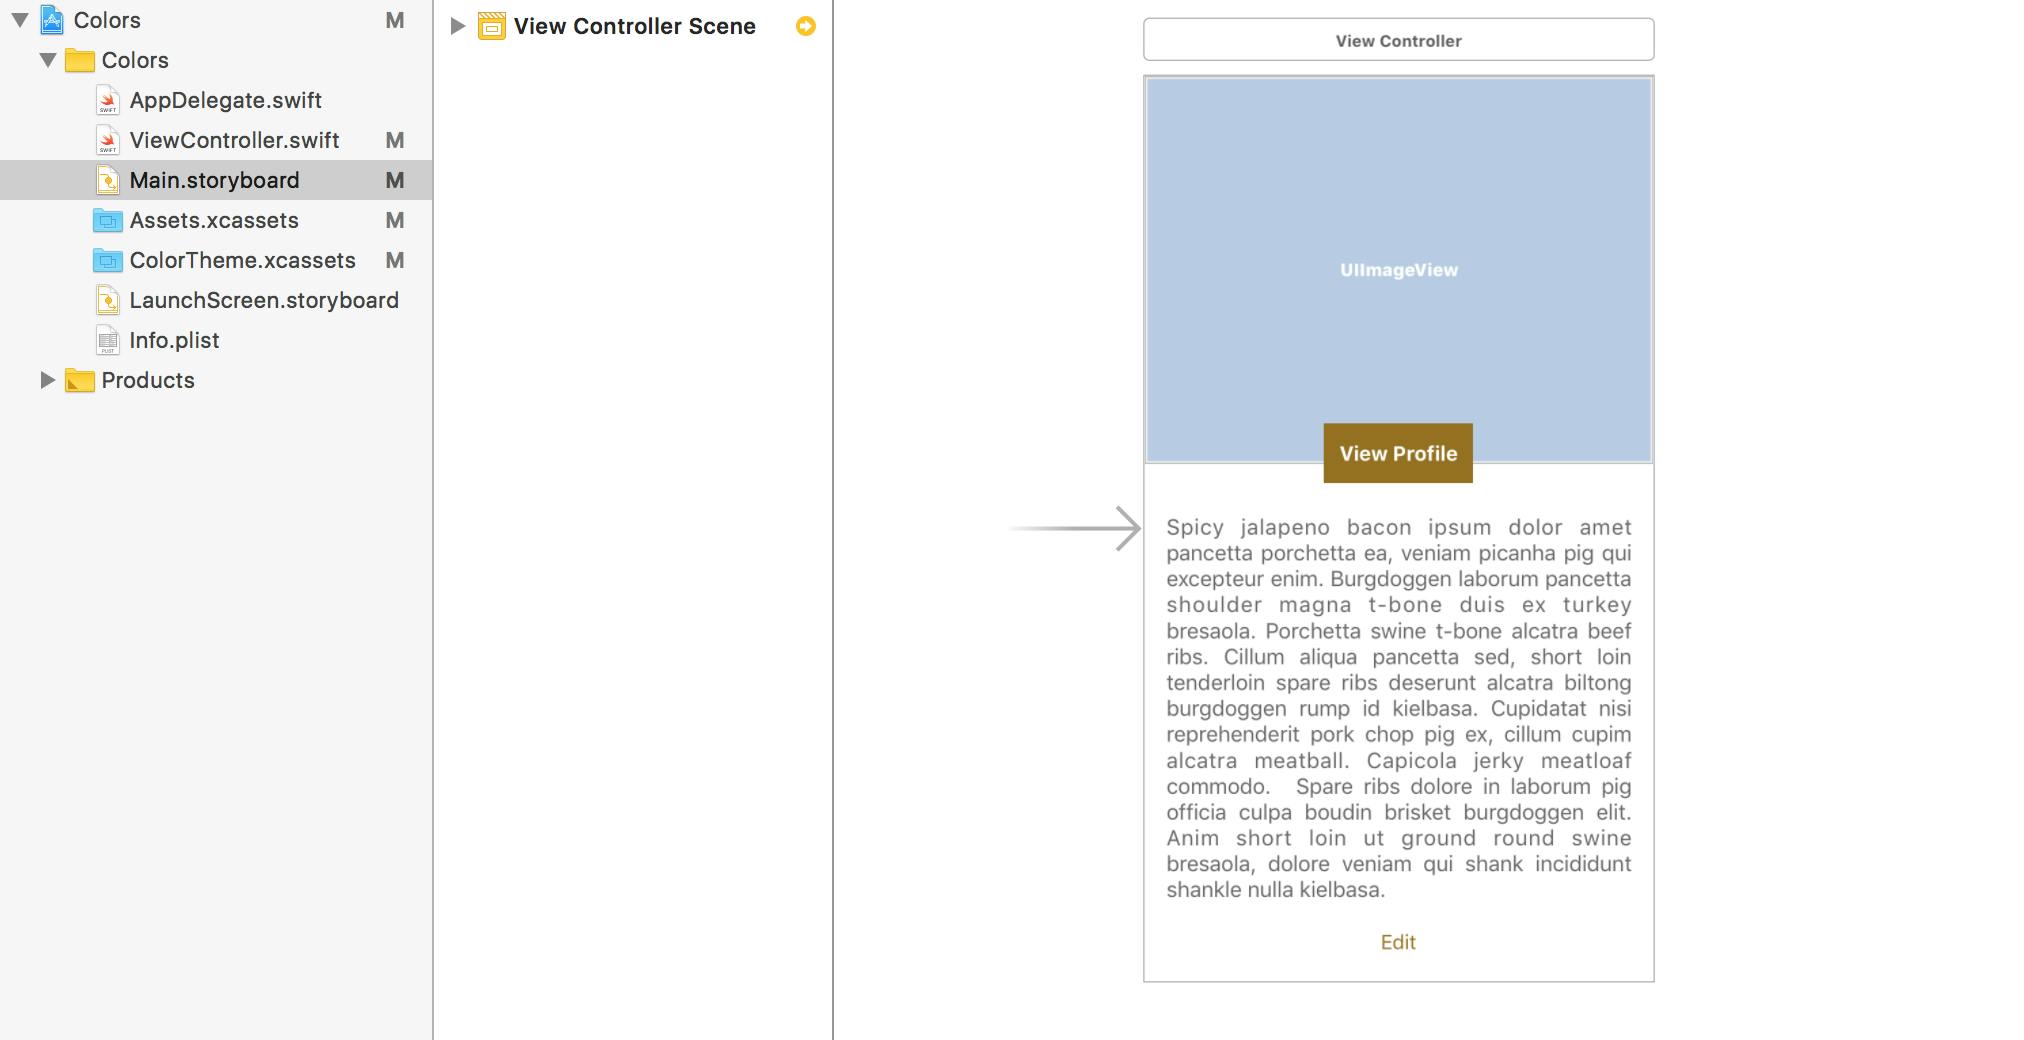
Using storyboards, we lay out the app’s interface and assign the Awesome color where it’s needed. Looking good!
We’re just about finished with the layout, when some new design changes come in: “Remove Awesome (#FF2052), and make it Drab  (#967117)!” (There are some creative color names out there.)
Uh oh! To fix this, we need to find, in the storyboard, everywhere we’re using Awesome, and manually replace it. On top of that, there may be places where the color was set programmatically. Those need to be changed as well. This could be fairly cumbersome depending on the project.
Color Assets to the rescue!
Thanks to iOS 11 and Xcode 9’s introduction of Color Assets, this is no longer an issue.
Color Assets are handled similarly to Image Assets and can be added to any Asset Catalogue.
In order to keep our color swatches separate let’s create a color-specific Asset Catalogue.
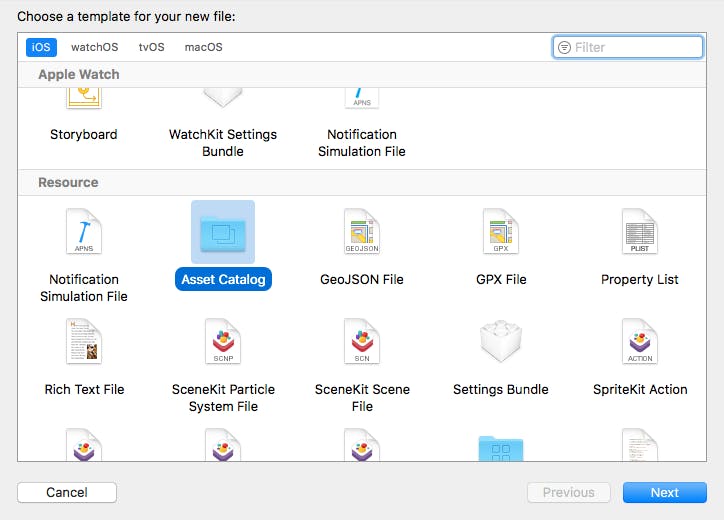
In Xcode hit Command-N or go to File > New > File…
Then choose Asset Catalogue and name it ColorTheme.
Now let’s add our Awesome color swatch.
Along the left pane, click the + button and choose New Color Set.
Name your color something a bit more generic than the actual color name, since that color could (and will in this example) change. I chose Accent Color, since this will be used to bring attention to certain elements.
In the Attributes Inspector pane, you’ll notice the Input Method drop down for choosing the color. Since we have a hex value, let’s use that. ( #FF2052)
Now open up your storyboard file and assign that color wherever you want it. You will see the name of your swatch appear under Named Colors.
Assigning colors in code.
The above trick covers Storyboards, but what about assigning colors in Code?
UIColor has an init(named: String), where you use the name of your swatch.
Example:
myView.backgroundColor = UIColor(named: "AccentColor")
To make this a bit cleaner, we could take advantage of dot notation with an extension on UIColor.
extension UIColor {

    static let accentColor = UIColor(named: "AccentColor")

}
now anywhere we want our color, we just call,
myView.backgroundColor = .accentColor
Update the color in one place!
Now, let’s make that change from Awesome (#FF2052) to Drab
(#967117)! Head back to your AccentColor swatch in the assets folder, and just assign a new hex value.
Next, you’ll run your app, and check out your storyboard to see that all that pink is now a lovely shade of drab. (Note: You might need to restart Xcode to see the changes take effect in your Storyboard.)
Now we just need something similar for handling fonts ;)
About Ben Lambert
Ben is an iOS developer and designer. He has a passion for building rich and intuitive UI /UX experiences for mobile. In his free time, he enjoys creating mobile app games.
Comments
[url=googl.com]Google[/url]
abc
https://www.google.com
Great work.
That was very useful thank you!