CABasicAnimation for animating strokes - Plus a bonus, gratuitous UI interaction
Learn to animate a stroke, make a popping bubble animation, and place it everywhere a user taps
Background Bubbles by Monicore is licensed under CC0 Creative Commons
Animating a UIView’s position, alpha, etc. is pretty straight forward using UIView.animate(...). But what if we wanted to animate CALayer specific properties like a view’s cornerRadius, shadowRadius, CATransform3D, or CALayers themselves? For that, we drop down to the lower level, CABasicAnimation API, which UIView.animate(...) is based.
For this tutorial, we’ll focus on animating a stroked UIBezierPath to get to this final animation. Then we will add some ridiculousness.

First create a new Xcode project and add a new Swift file called Line.swift. Then, copy-pasta the boilerplate code below to get up and running…
import UIKit

class Line: CAShapeLayer {

    override init() {
        super.init()

        createLine()
    }

    override init(layer: Any) {
        super.init(layer: layer)
    }

    required init?(coder aDecoder: NSCoder) {
        fatalError("init(coder:) has not been implemented")
    }

}
Now, let’s implement the createLine() method. Paste this below init(coder:).
func createLine() {
    // 1)
    let bezPath = UIBezierPath()
    bezPath.move(to: CGPoint(x: 15, y: 0))
    let distance = CGFloat(arc4random_uniform(45 - 25) + 25)
    bezPath.addLine(to: CGPoint(x: distance, y: 0))

    // 2)
    lineWidth = 2
    lineCap = kCALineCapRound
    strokeColor = UIColor.darkGray.cgColor
    path = bezPath.cgPath
}
1) This creates a line from point x: 15 to a random value from 25 to 45 and keeps y at 0. Just a straight horizontal line with a random length to keep it interesting.
2) Next we assign some CAShapeLayer properties that affect how our layer renders.
3) Then we assign the UIBezierPath’s cgPath to our CAShapeLayer’s path property so our path will render.
Now lets dive into animating the line!
CABasicAnimation is initialized with a String keyPath, CABasicAnimation(keyPath: String). The keyPath String is typically the property name you want to animate. In our case we want to animate the CALayer’s strokeStart and strokeEnd properties.
However, if you want to animate a CALayer’s transform or rotation, you can use dot notation to access the property you want. For example: CAKeyframeAnimation(keyPath: "transform.rotation.y") or CAKeyframeAnimation(keyPath: "transform.scale.x")
Paste this code below the createLine() method.
func animate() {
    // 1)
    let duration: CFTimeInterval = 0.6

    // 2)
    let end = CABasicAnimation(keyPath: "strokeEnd")
    end.fromValue = 0
    end.toValue = 1.0175
    end.beginTime = 0
    end.duration = duration * 0.75
    end.timingFunction = CAMediaTimingFunction(controlPoints: 0.2, 0.88, 0.09, 0.99)
    end.fillMode = kCAFillModeForwards

    // 3)
    let begin = CABasicAnimation(keyPath: "strokeStart")
    begin.fromValue = 0
    begin.toValue = 1.0175
    begin.beginTime = duration * 0.15
    begin.duration = duration * 0.85
    begin.timingFunction = CAMediaTimingFunction(controlPoints: 0.2, 0.88, 0.09, 0.99)
    begin.fillMode = kCAFillModeBackwards

    // 4)
    let group = CAAnimationGroup()
    group.animations = [end, begin]
    group.duration = duration

     // 5)
    strokeEnd = 1
    strokeStart = 1

    // 6)
    add(group, forKey: "move")
}
1) Create a local variable to hold the total duration of the animation. This will be used later to group the animations together.
2) Here we create our first animation with the keyPath "strokeEnd".
The fromValue and toValue determine where along the path we want the end of the stroke to be. 0 being the beginning and 1 being the end. We need to overshoot the end value a bit to account for the rounded end caps on the stroke.
beginTime is pretty self explanatory.
For the duration we want a percentage of our total duration. This animation will complete before the strokeStart animation completes.
The timingFunction is used to ease the animation. For a great site to visualize what the controlPoints values do, check out cubic-bezier.com.
fillMode determines how to display the property after the animation completes. Since our animation will complete before the total duration, we need to use kCAFillModeForwards. This way it won’t pop back to its starting position for a split second before the total duration completes.
3) strokeStart uses the same properties as strokeEnd, but adjusted slightly to trail behind. The main difference is we need to use kCAFillModeBackwards for the fillMode since the animation begins a bit after the total duration.
4) Here we create a CAAnimationGroup(). We add both animations to the group’s animations property and set a total duration.
5) iOS animations work on a presentation layer. What you see animating on screen, is essentially a copy of your actual (model) layer. Your layer is hidden, then the animation happens on the presentation layer. Once the animation is complete, the presentation layer is thrown away and your model layer is visible once again. If we don’t set the final value on our model layer, once the presentation layer disappears, our model layer will be back where it began. You can tell the presentation layer to stick around if you want to prevent this. In our case, it’s easier to just set the model layer’s strokEnd and strokeStart properties directly. This is probably what you want in most scenarios.
6) Finally, we apply the animation to the layer. The key is used to refer back to the animation if need be, for instance in CAAnimationDelegate calls.
Whew! That was a lot, but we now have a path that animates by.

Not super cool, BUT now let’s add a few of these lines to a UIView subclass and make it radiate out from the center. I won’t go in depth into this code for the sake of brevity.
import UIKit

class PopView: UIView {

    init() {
        super.init(frame: CGRect(x: 0, y: 0, width: 30, height: 30))

        isUserInteractionEnabled = false

        // Create 6 lines and rotate them around the center
        for number in 1...6 {
            let line = Line()
            line.position = CGPoint(x: self.frame.width / 2, y: self.frame.height / 2)
            line.transform = CATransform3DMakeRotation(CGFloat.pi * 2 / CGFloat(6) * CGFloat(number), 0, 0, 1)
            self.layer.addSublayer(line)
            line.animate()
        }

        // Slightly rotate the angle of the view so it changes slightly per instance
        let minOffset: UInt32 = 0
        let maxOffset: UInt32 = 200
        let rotation = CGFloat(arc4random_uniform(maxOffset - minOffset) + minOffset) / CGFloat(100)
        transform = CGAffineTransform(rotationAngle: rotation)
    }

    required init?(coder aDecoder: NSCoder) {
        fatalError("init(coder:) has not been implemented")
    }

}
Now you have a nice little pop animation you can use throughout your app.
CABasicAnimation is a powerful and fairly confusing API, but it’s worth playing around with since you can really add some unique animations to help your app shine!

Time for the Ridiculousness!
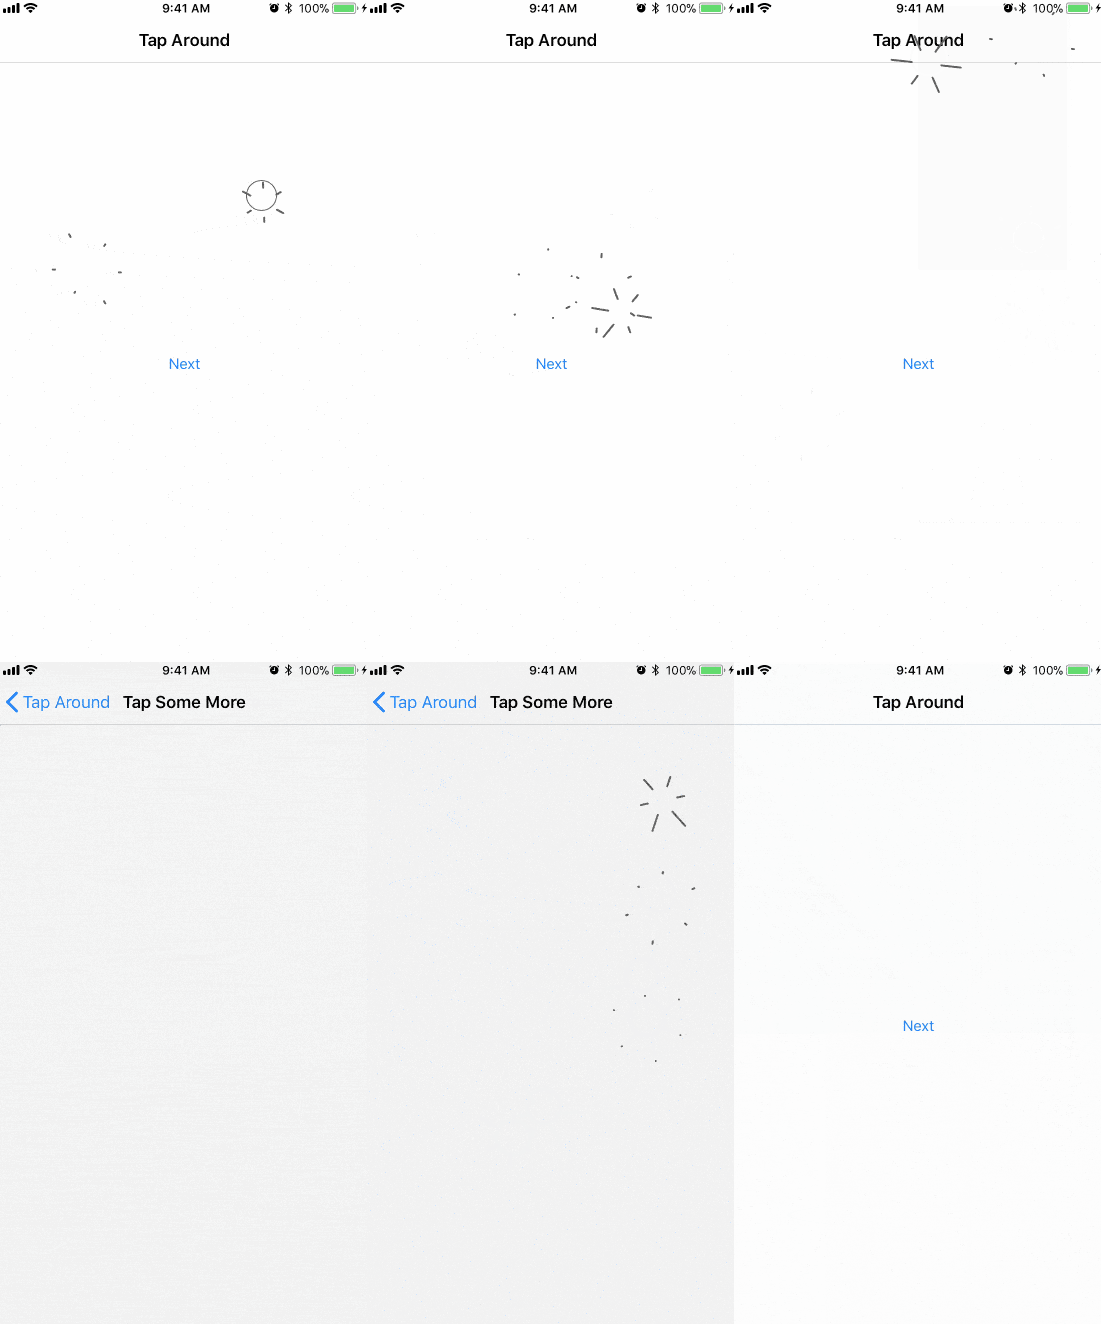
I love this animation so much, I think it should be used everywhere a user taps on an app!
With a little storyboard magic we can make this happen. Check out my Xcode project and add it to every app you maintain!

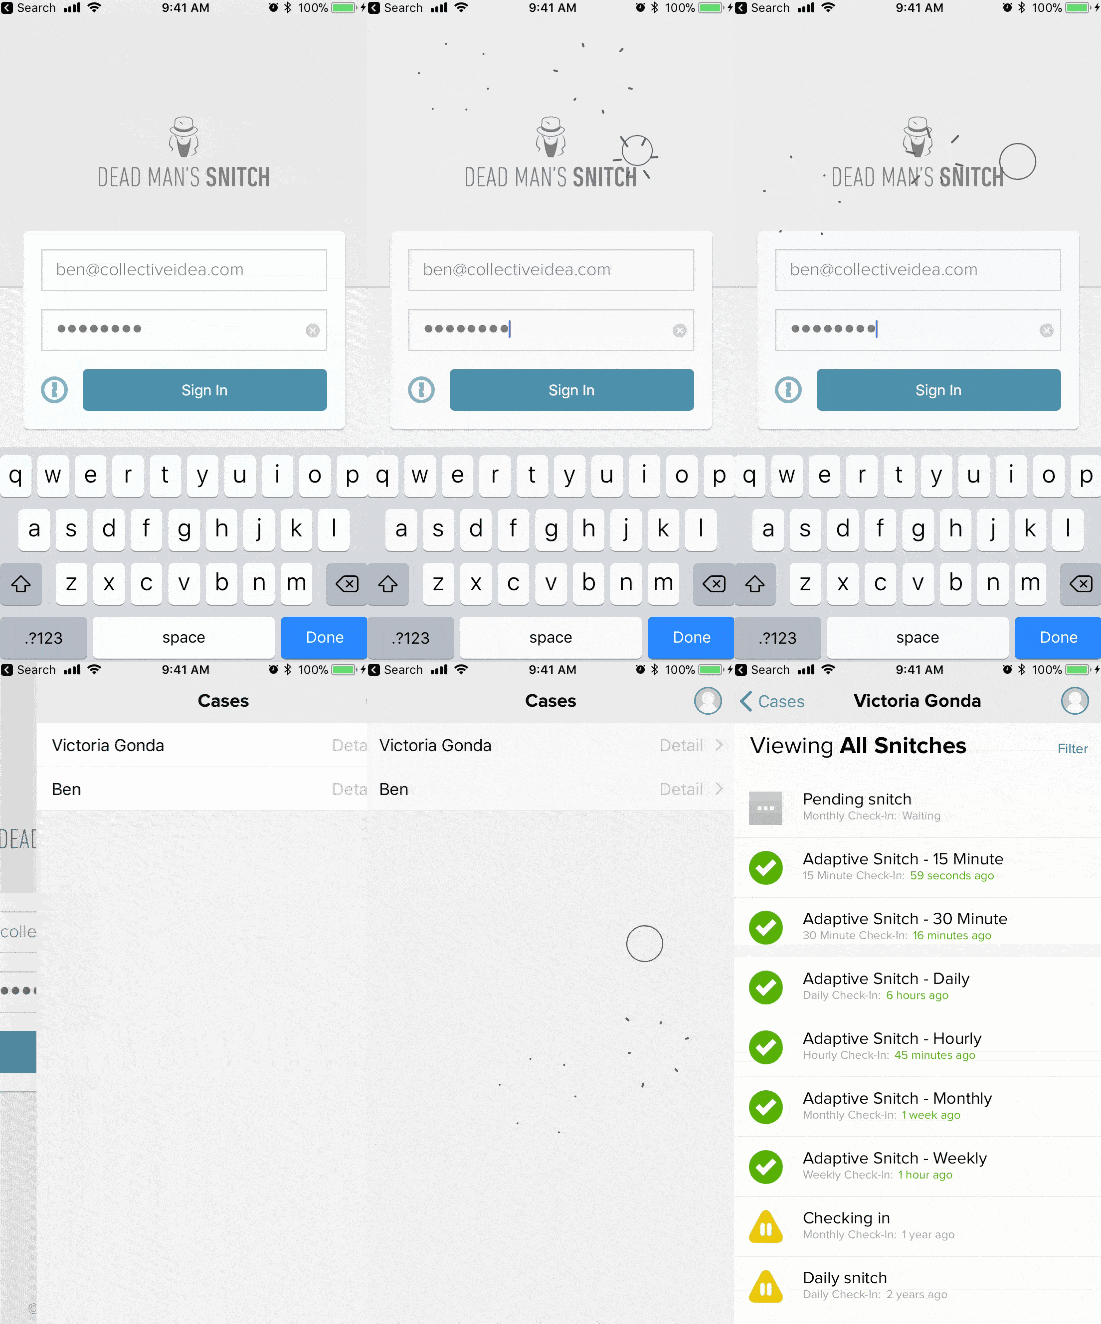
I already added it to Dead Mans Snitch’s iOS app and made a PR… It was quickly denied however :(

* Note: This is not optimized, adds a lot of UIViews to your project, and is not actually intended to be used (I hope I didn’t really need to specify that, haha).

Comments
I programmed it in a Swift Playground and also added some creativity of mine to create an awesome playground as follows:
https://github.com/Kanishka3/FireworksPlayground
Awesome Kanishka!!
Very good wriiten really like this waiting for another post big fan of animation thanks